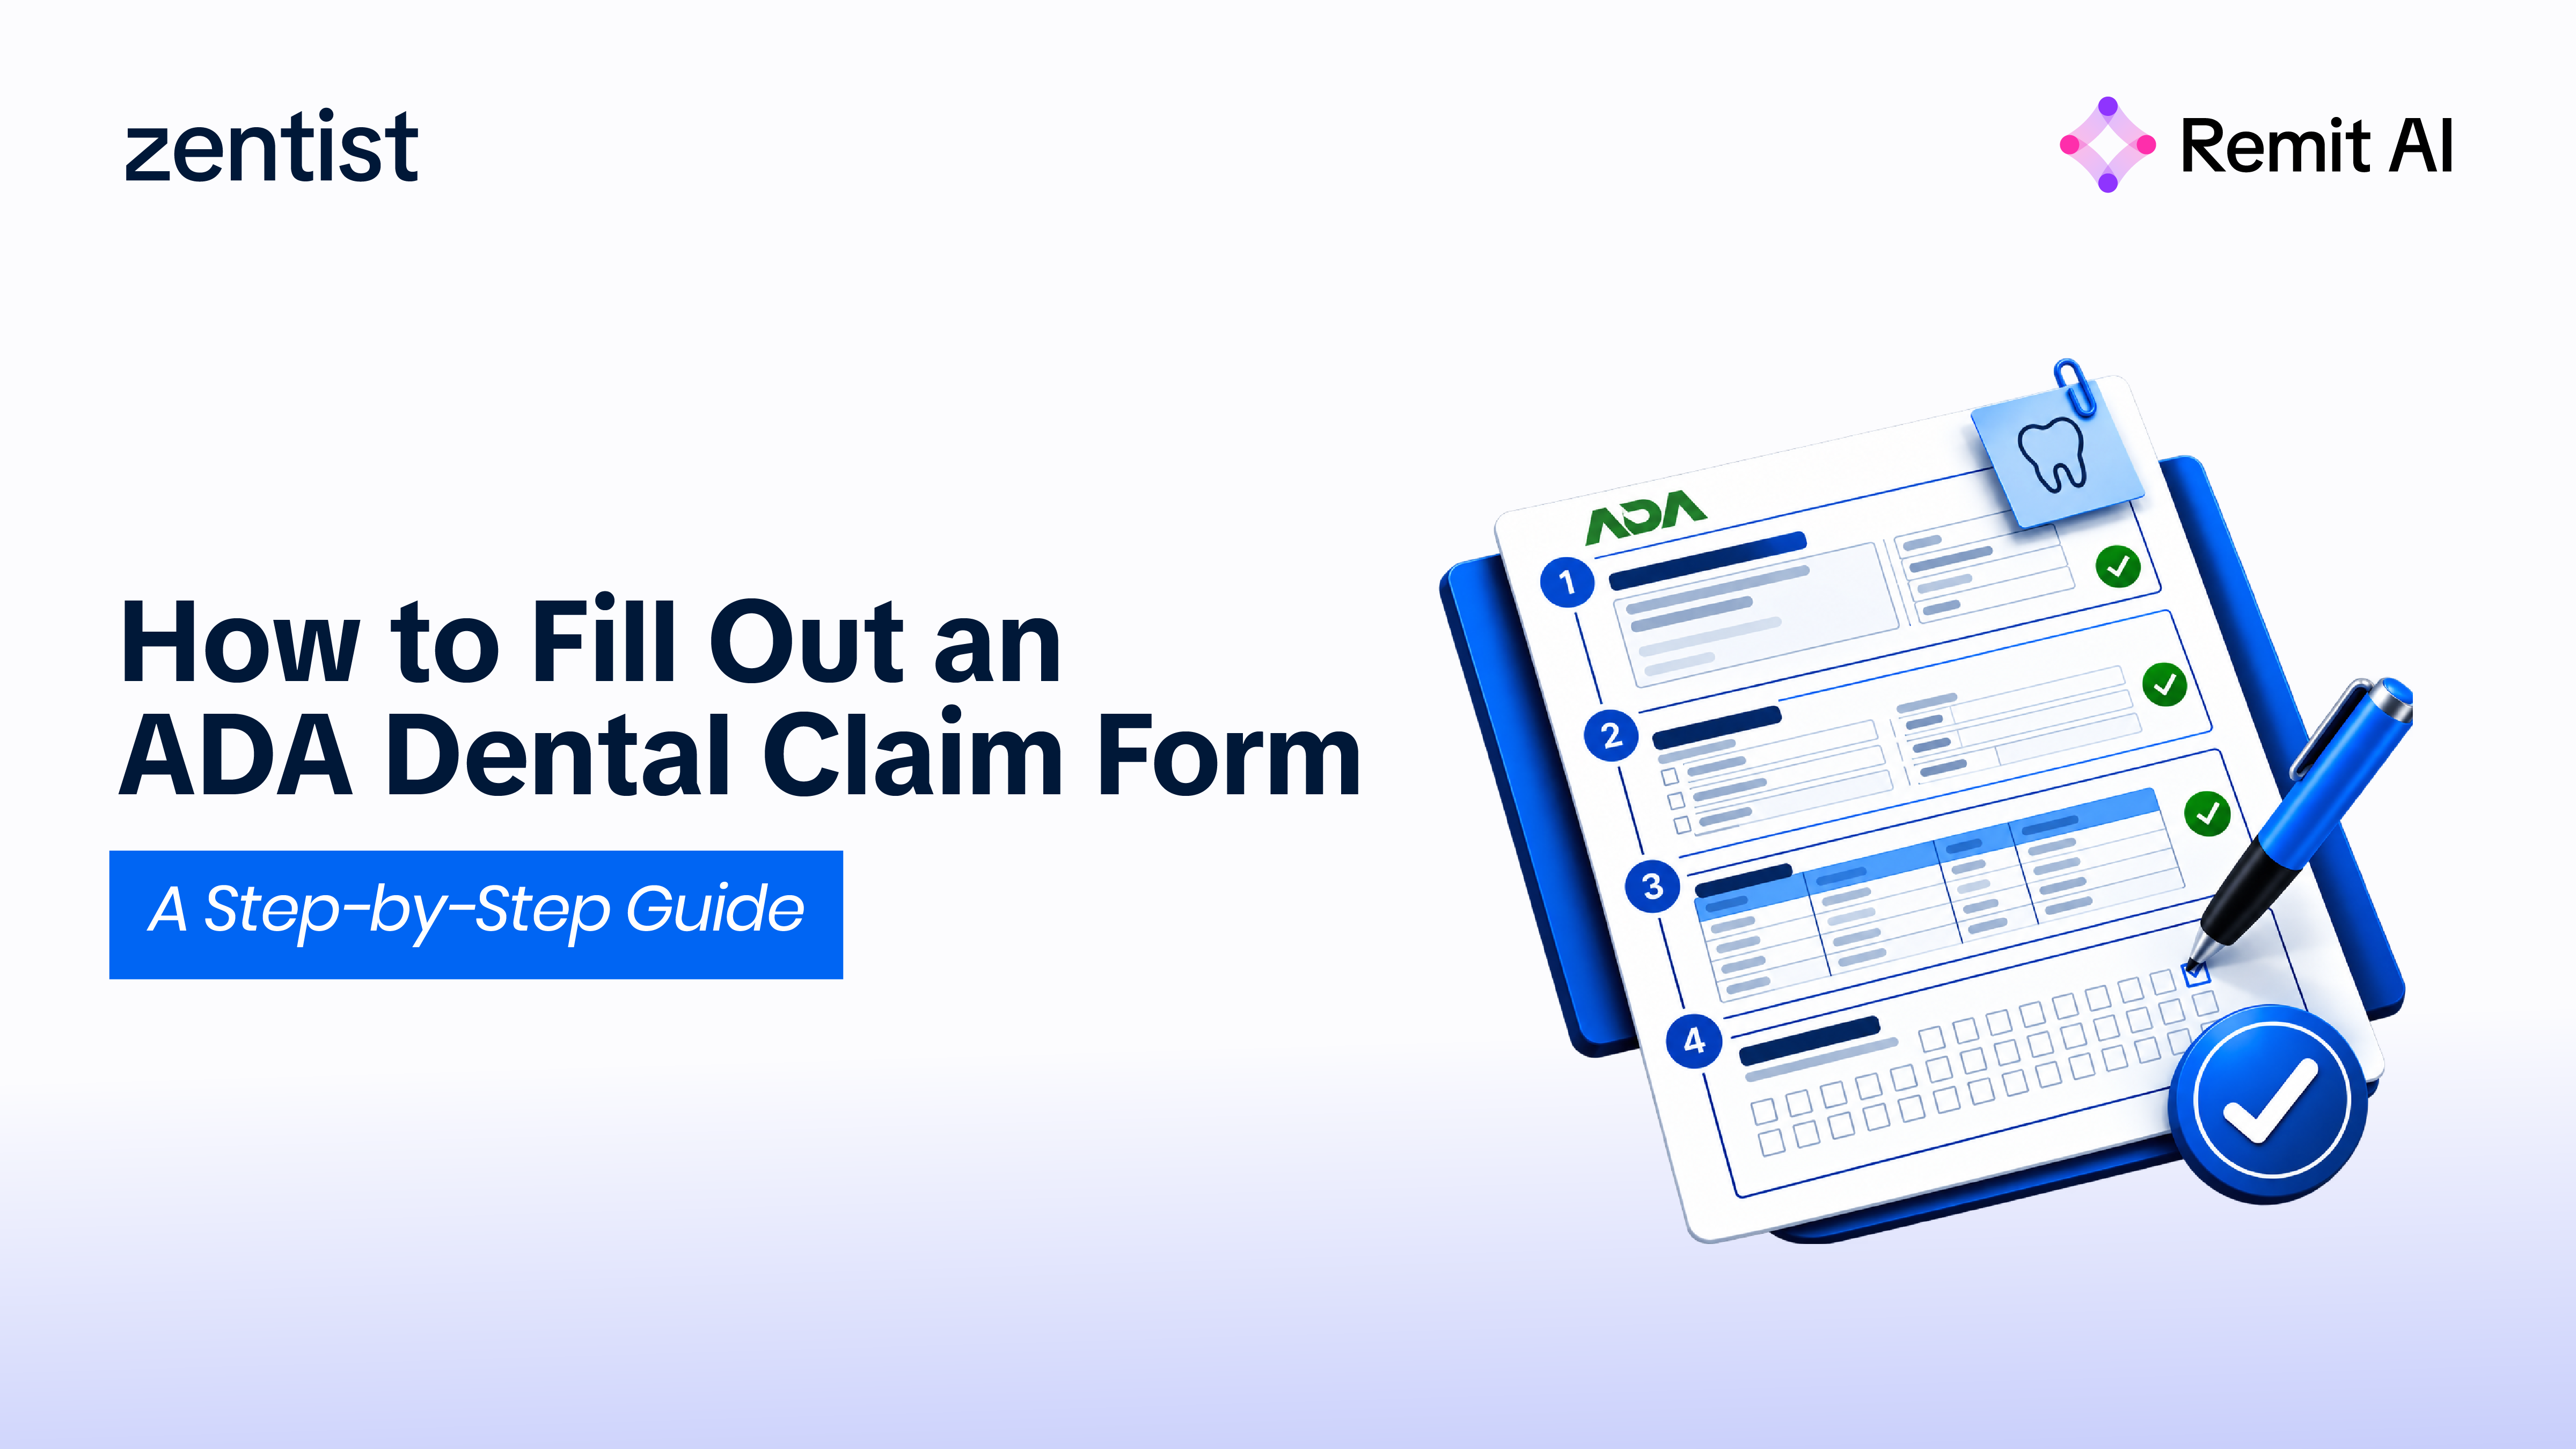
Filling out a dental claim form is much easier when you treat it as a simple record of who received care, who provided it, what procedures were performed, and where the claim should go. This guide walks through the ADA dental claim form in plain language so dental office teams and billing staff can avoid common errors and submit cleaner claims.
The current standard is the 2024 ADA Dental Claim Form, which the ADA updates periodically to reflect CDT code changes, HIPAA requirements, and updated reporting standards. Using an older version including the 2012 or 2019 form is one of the fastest ways to trigger a rejection before adjudication even begins.
Gather the Right Information Before You Start

Before entering anything on a blank ADA dental claim form, collect the source documents you need. Working from the patient's chart, insurance card, treatment notes, and fee record helps prevent the small mistakes that slow down processing.
A practical pre-fill checklist:
- Patient details: full legal name, date of birth, address, gender marker if requested, and relationship to the policyholder
- Subscriber information: policyholder name, subscriber ID, group number, and plan name
- Coverage details: primary and, if applicable, secondary dental or medical coverage
- Treatment records: dates of service, procedure codes, tooth numbers, tooth surfaces, fees, and diagnosis information when required
- Provider information: treating dentist name, NPI, license number, address, phone number, and tax identification details
- Attachments: narratives, radiographs, periodontal charts, EOBs, or other documentation the payer requires
This preparation matters because a payer can only evaluate the dental insurance claim based on the information submitted. A missing subscriber ID, an incorrect date, or a required attachment left out means the plan will ask for more information adding days or weeks to the collection cycle. If you want to understand how these delays compound into larger AR problems, the Zentist guide to dental claim processing timelines covers exactly what happens at each stage after submission.
Step-by-Step ADA Claim Form Completion
The form is organized into related sections, so move through it in order rather than jumping around. The ADA's completion instructions confirm that each numbered item has a purpose and that related data elements are grouped.
1. Select the Transaction Type
Start with the header. If the treatment has already been completed, mark the claim as a statement of actual services. If you are asking the plan to review proposed treatment before care is provided, choose the predetermination or preauthorization option. If the claim involves EPSDT or Title XIX, mark that box when applicable.
2. Enter Dental Benefit Plan Information
List the insurance company or dental benefit plan that should receive the claim. If there is primary and secondary coverage, submit to the primary payer first, then use the secondary payer's information when filing the secondary claim. Include the payer ID if it is known, especially for routing through electronic claims processing.
3. Complete Other Coverage Details
If the patient has another dental or medical plan that may be involved, complete the other coverage section. Include the other policyholder's name, birth date, subscriber ID, relationship to the patient, and plan information. If there is no other coverage, leave that section blank rather than guessing.
4. Add Patient and Subscriber Information
The patient is the person who received treatment. The subscriber is the person who holds the insurance policy. They may be the same person, but not always. Make sure names, dates of birth, and ID numbers match the insurance card and office records exactly; a transposed digit or a nickname instead of a legal name is enough to cause a rejection.
5. Record Procedures Accurately
The procedure section is where the claim becomes specific. Enter the service date, procedure code, tooth number or letter, tooth surface when relevant, oral cavity area when required, and the fee charged. Use the correct CDT code for each procedure and avoid combining services unless the payer's insurance claim guidelines allow it. The 2024 ADA Dental Claim Form includes updated fields for oral cavity area coding; confirm you are using the current version.
6. Complete Provider and Treatment Location Sections
The billing dentist or dental entity information identifies who is submitting the claim. The treating dentist section identifies who performed or supervised the care and where treatment occurred. Both NPI numbers, license details, address, and specialty coding should be complete and consistent with what the payer has on file.
7. Review Signatures and Authorizations
Check whether the form requires patient authorization, assignment of benefits, or provider certification. Signatures should be completed according to the payer's rules and the office's standard workflow. Never sign for someone unless you are authorized to do so.
Which ADA Form Version Should You Use?
In most cases, use the most current version accepted by the payer which the ADA identifies as the 2024 ADA Dental Claim Form. The ADA offers the current 2024 ADA Dental Claim Form PDF and comprehensive completion instructions online. The 2019 form is still downloadable but lacks updated CDT code fields and newer area-of-cavity codes. Using the current form reduces rejection risk and aligns with HIPAA 837D electronic claim standards.
Common Mistakes That Slow Down Claims

Many claim delays come from simple mismatches rather than complicated coverage issues. Build a final review habit before sending any ADA dental claim form.
Watch for these common problems:
- Wrong subscriber ID: confirm the number from the current insurance card, not the patient's memory
- Missing tooth or surface data: include anatomy details when the procedure requires them
- Incorrect transaction type: do not mark actual services when you are requesting a predetermination
- Incomplete other coverage section: coordinate benefits when another plan applies
- No attachments: include required X-rays, narratives, charts, or prior EOBs
- Outdated form version: verify that the payer accepts the version you are using
- Unclear provider information: make sure NPI, license, address, and tax information are consistent
A clean ADA claim form does not guarantee payment, but it gives the payer fewer reasons to pend or reject the submission. Practices that consistently catch these errors before submission maintain significantly higher clean claim rates. For a deeper look at what happens when claims do get denied and how to respond, the Zentist dental claim denial appeals guide covers the full triage and resubmission process.
A Simple Final Review Process

Before you send the claim submission form, compare it against three sources: the patient record, the insurance card, and the treatment ledger. Confirm that the patient, subscriber, plan, procedure, provider, and fee information all agree.
For dental offices, it helps to create an internal review checklist based on payer rules. One team member can enter the claim, and another can spot-check high-value, orthodontic, surgical, or coordination-of-benefits claims before submission. For practices and DSOs wanting to reduce the manual effort in this review process, Remit AI by Zentist automates the downstream workflow from payment posting and denial detection to AR prioritization, so billing teams have more capacity to focus on getting submissions right the first time.
FAQ
Heading

Answer

